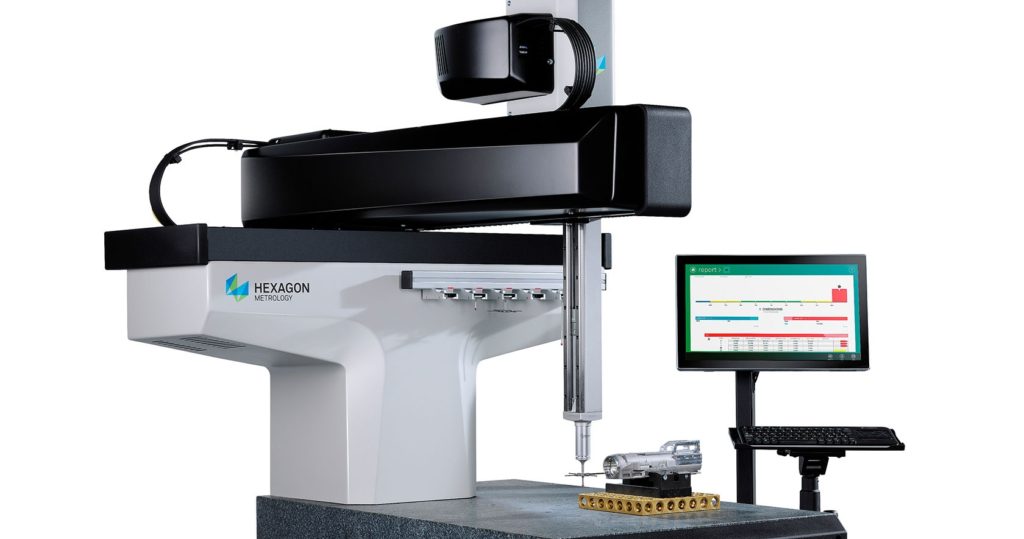
Over the past decade or two, coordinate measuring machines have rapidly made their way into more shops than ever before. Alongside laser scanners and vision systems, they have become the standard for industrial QA departments across the world. But a good deal of buyers still don’t know the first thing about these specialized, essential pieces of equipment. They come in a variety of sizes and types that are made to measure very different components, from auto frames to microchips. You will have to take into consideration their reach, their measurement error range, mobility, and more. However, once you’ve determined your specifications, and you can compare apples to apples, there are 3 main elements that you should evaluate: hardware, probing systems, and software.
Hardware – One of the chief differences between high quality and cheaper coordinate measuring machines is the use of thermally stable materials. As a light weight, easily machinable material that’s also low cost, aluminum is popular with lower-end equipment, but it will come with its own costs. Namely, it won’t be accurate without the temperature-stabilization available from a lab, and that means a bigger footprint in your shop and longer inspection times as the component has to be shuttled off the production line, cooled, measured, and returned. It’s a recipe for bottlenecks at the QA department, and most shops instead favor temperature neutral materials like ceramic and granite. They are more expensive and heavier, but hollow granite used in some technologies means you can get the best of both worlds: temperature stability and light weight.

Probing System – The industry standard for probing systems remains Renishaw, standard on most used coordinate measuring machines from vendors like CMMXYZ (Canadian Measurement-Metrology Inc.), but there are still a number of factors you should know and consider before picking out a system. First, you will have to decide between articulating and non-articulating probe heads, as well as manual and automatic. Operators enjoy greater flexibility with articulating probe heads as they can be pointed in any direction they need, whereas a non-articulating head can only be pointed down, and are only used on flat surfaces. While automatic probe heads can be more expensive, you can change the angles of probes automatically, and you can do this from within a measuring program, greatly reducing the labor hours you spend inspecting complex components. You will also have to look into stylus tips and probes themselves, some of which can be changed automatically. It’s also recommended that you consult with a metrology vendor like CMMXYZ about where you are going to locate your machine because nearby vibrations can cause false triggers and measurement errors.
Software – When you’re buying a used coordinate measuring machine, make sure the software is up to date. While mechanically these tools do not change much over the years, software upgrades are much more rapid, and out-of-date software will not only have out-of-date tolerancing standards, it can also cost your hours of labor. When you buy used CMM equipment from CMMXYZ, you’re advised to upgrade the software to a more recent version, especially if the software the machine comes with is obsolete and updates are no longer available. On the other hand, up-to-date software on a used machine is a valuable find and will give you great economy on your purchase. PC-DMIS is the most popular software available, but it does not work for every type of component. Always do your research when you buy used and turn to a reputable vendor that thoroughly inspects all of their equipment.